-
 Cody Lunning
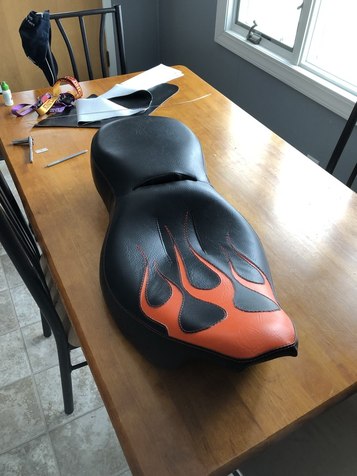
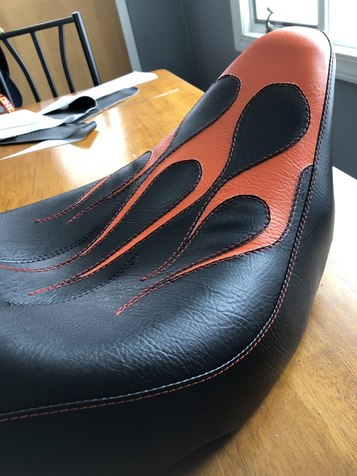
39I’ve done this before, but for some reason this I’m getting into my own head on this and giving me anxiety lol. Maybe not that bad but it’s stopping me from moving forward. What I have is a stock Harley seat. It’s a larger one piece off of a bagger. For the main seat area of the driver, they want orange flames sewn into the seat and the rest black. I’ve thought of a few ways to do this, but would like to hear what others have done.
Cody Lunning
39I’ve done this before, but for some reason this I’m getting into my own head on this and giving me anxiety lol. Maybe not that bad but it’s stopping me from moving forward. What I have is a stock Harley seat. It’s a larger one piece off of a bagger. For the main seat area of the driver, they want orange flames sewn into the seat and the rest black. I’ve thought of a few ways to do this, but would like to hear what others have done.
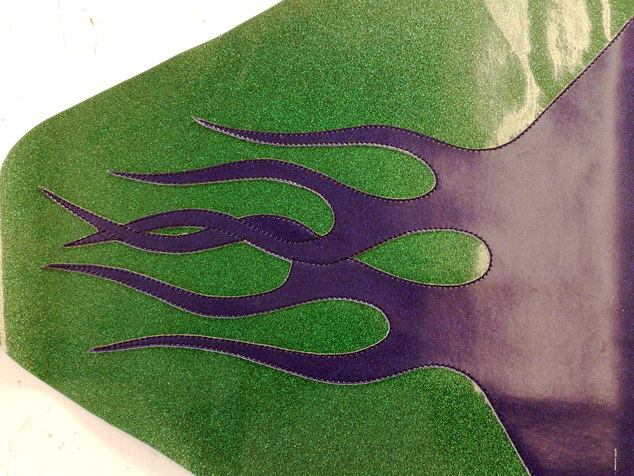
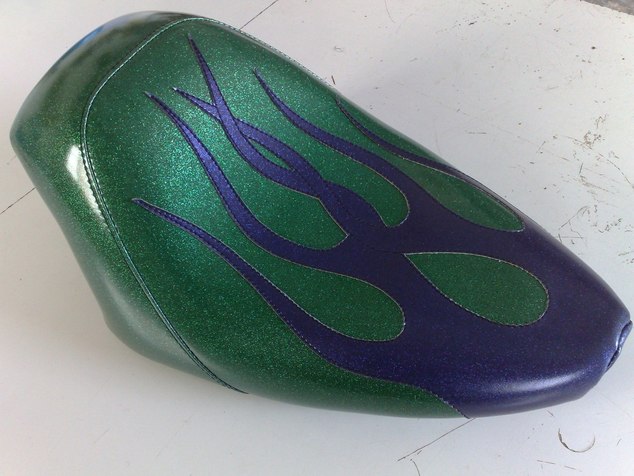
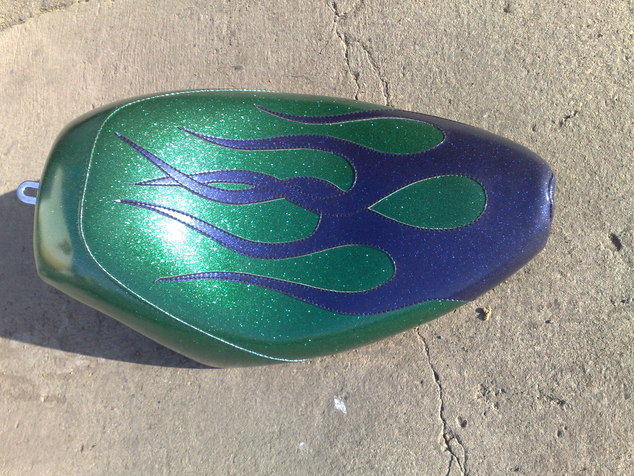
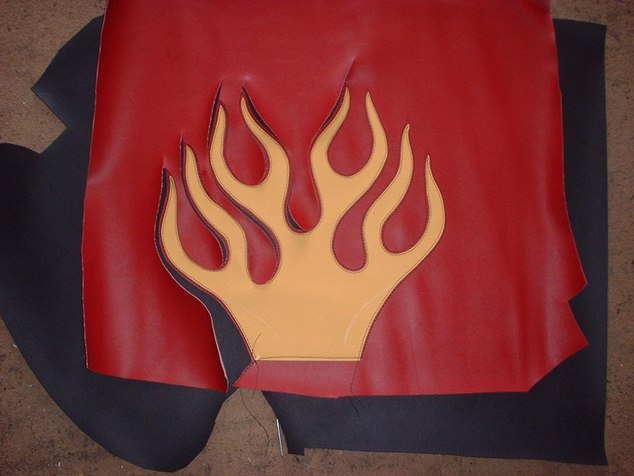
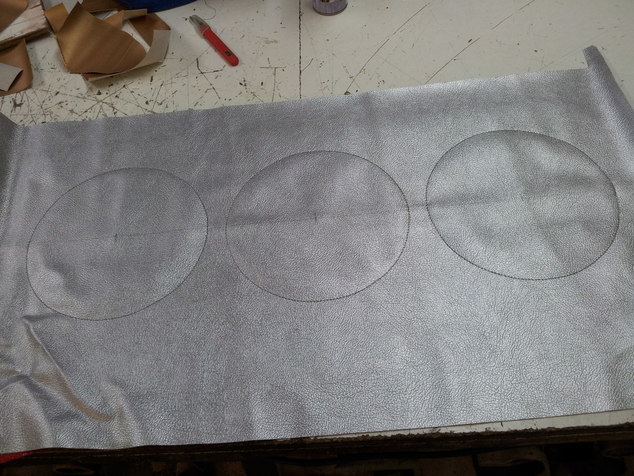
First option. Cut the orange material out to the seat pattern size and also the black out to seat pattern size. Lay the black over the top of the orange. Sketching out my flames on the black. Now sew the black and orange together around the flame design. Once that is sewn. Come back with scissors or razor blade and carefull cut out the black inside the flame design revealing the orange under neath. Sew the seat together with the black top and orange underneath the same size.
Option 2. Draw my flames on the black and cut out. Place this over the orange and sew around the flames making them one piece. (Afraid the flames will distort here and could cause issues.) sew seat together like in option 1
Option 3. It’s pretty much the top 2 options repeated but instead of leaving the orange to full pattern size. In each options I would trim the orange just past the stitching so only the black is the seat, not 2 layers of black and orange underneath.
I’m thinking option 1 will have the best outcome. But worried I’d sew it and the. Cutting out the black id cut the orange too.
I’m using marine vinyl with serafil size 270 for any top stitching around the flames. -
 Chris Vining
48i sandwich it all together over sized first then mark it all out , sew it then cut it after
Chris Vining
48i sandwich it all together over sized first then mark it all out , sew it then cut it after -
Cody Lunning
39Ah okay. So like the option one but don’t cut to final pattern size till I get the flames sewn in then pattern after that. Hopefully I’m understanding you right.
-
Chris Vining
48yup I always do it over size first so you can lay the seat template on the finished flames so it can be moved around to make sure the flames all sit where you planed them too
-
Chris Vining
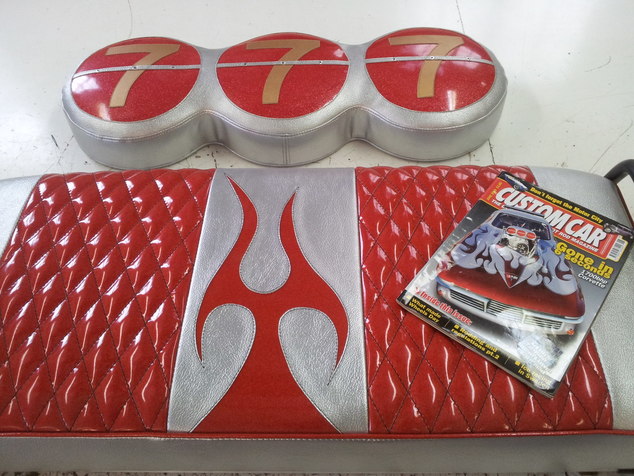
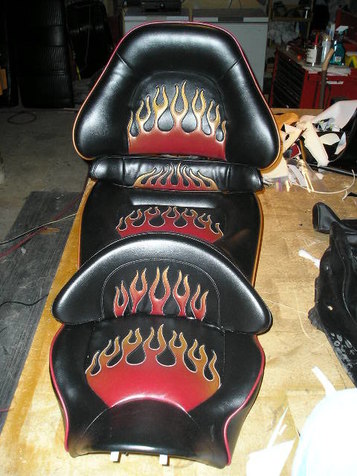
48also as you can see from the iron maiden one I have flipped the image on pc before printing then just a light spray glue on back to stitch from behind for crisp lines
-
Cody Lunning
39@Chris Vining all those pics look great. I figured I knew what to do, and that I would make it work. Idk why the self doubt on this project all of a sudden. I haven’t done much work like this but I have done it before and didn’t question myself this much. I guess I’m trying to keep producing better work than the project before and now I’m just making sure I’m not doing it all backwards lol
-
 Al Decker
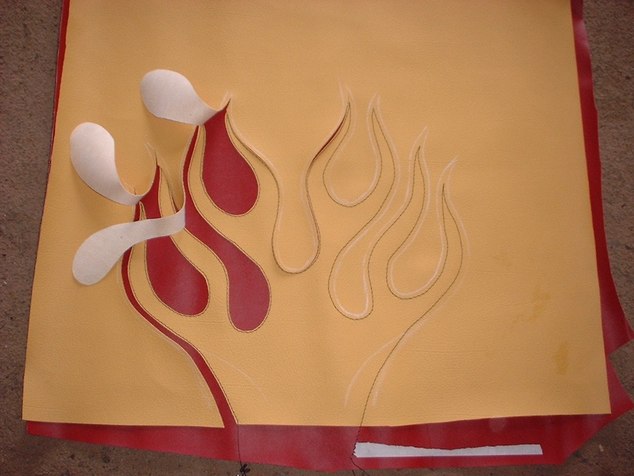
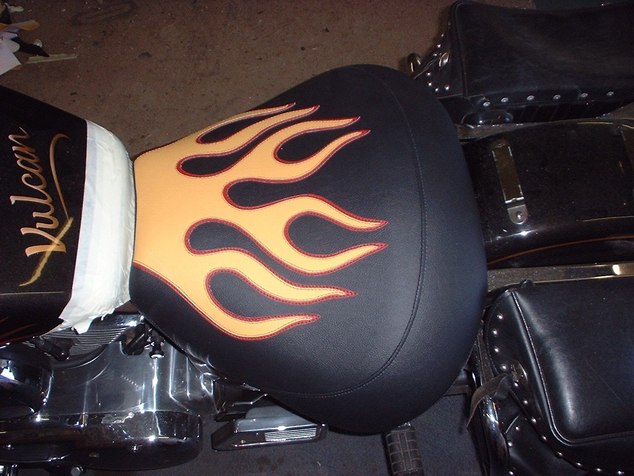
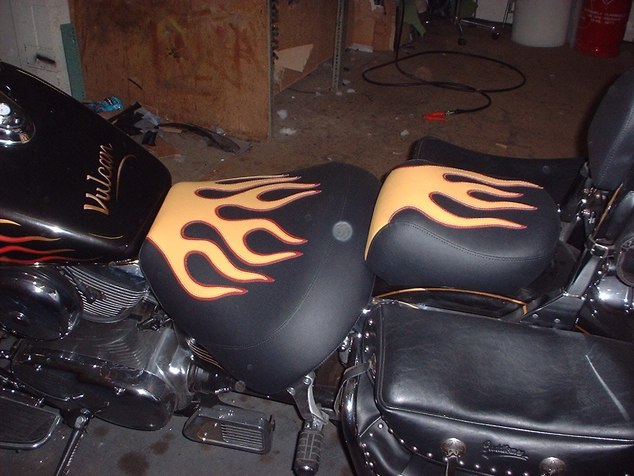
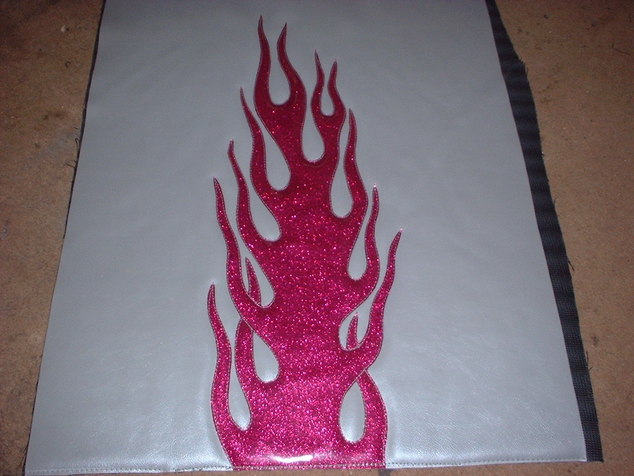
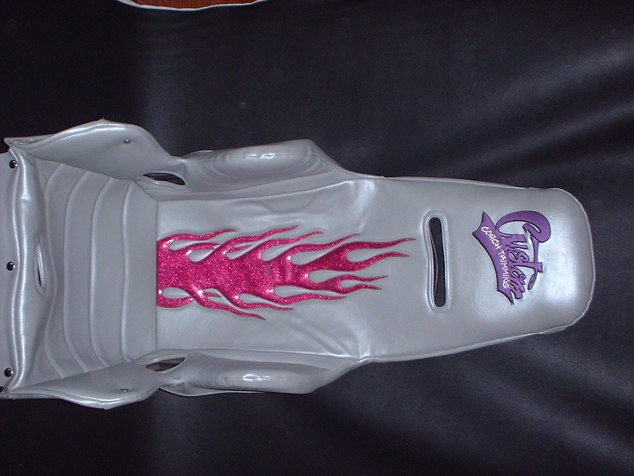
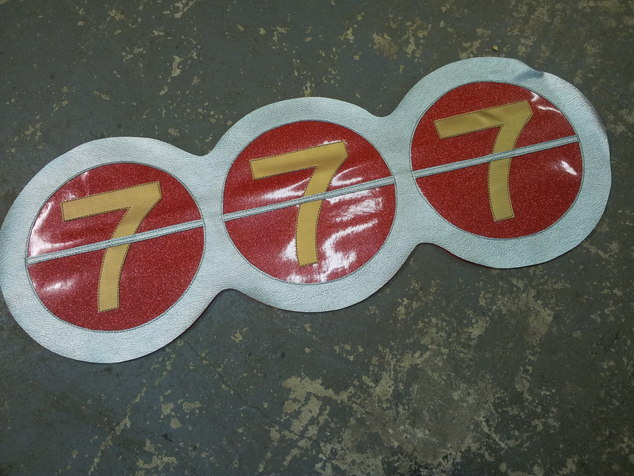
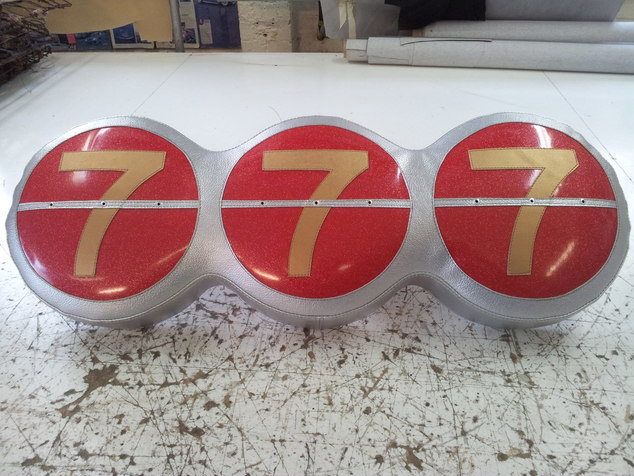
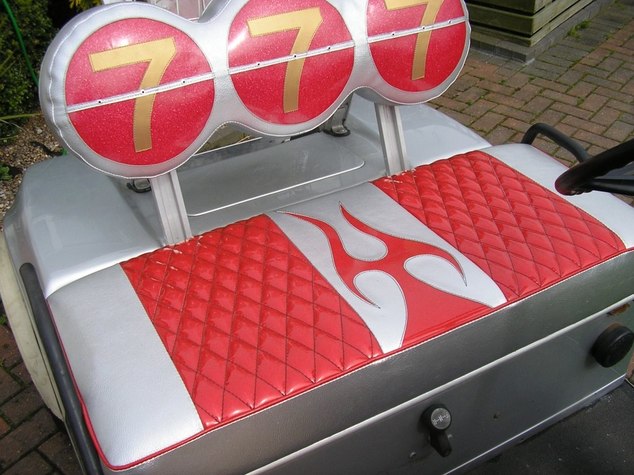
22Dyed the gold for the flame tips with a Preval spray gun before laying the red under the the black. Sewed the flames & then cut out.
Al Decker
22Dyed the gold for the flame tips with a Preval spray gun before laying the red under the the black. Sewed the flames & then cut out.
The owner wanted a white pinstripe around the flames. Only way I could get that in there was to use a vinyl with a white backside so that it was just slightly apparent after being cut-out
Also did a red-to-gold 'fade' on the piping.

-
 Darren Rawlings
6All those a really neat. Can I asked a dum questions? Is there a technique for cutting out without cutting through the material underneath?
Darren Rawlings
6All those a really neat. Can I asked a dum questions? Is there a technique for cutting out without cutting through the material underneath? -
Cody Lunning
39Thanks everyone, I ended up going with option 2. I think the customer will be happy with the end result. Like @Al Decker mentioned what’s another option to avoid that white under material of the vinyl? Do they make a black liner?
-
 Matt Sonnenburg
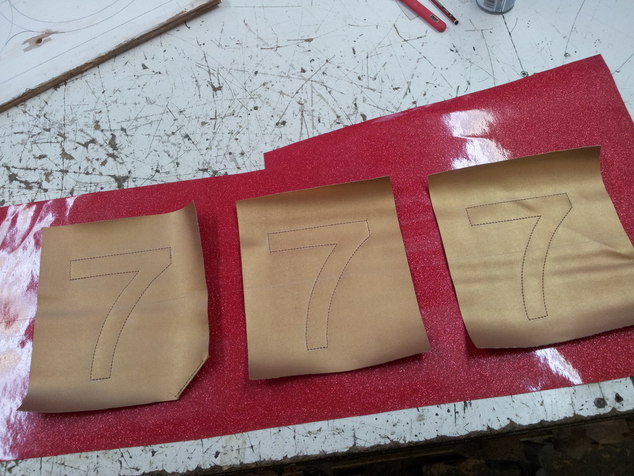
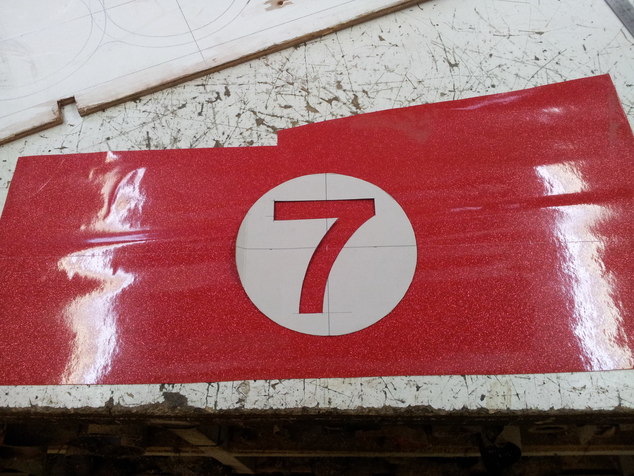
15I just finished this Mastercraft this week. I did these a little different. I did some test stars for the customer and they did not want the white back of the black showing on the edge. So I cut these and folded them under before sewing. It probably cant be done like this with flames but worked for the stars.
Matt Sonnenburg
15I just finished this Mastercraft this week. I did these a little different. I did some test stars for the customer and they did not want the white back of the black showing on the edge. So I cut these and folded them under before sewing. It probably cant be done like this with flames but worked for the stars.

-
Cody Lunning
39I did anflamed seat while in school and the instructor has me cut the flames out and the. Right around the edge make a quick pass with a lighter. This burned back the white just enough. But I was afraid if I cut these flames out here they would distort. The ones I did at school were different and worked better.
-
Chris Vining
48most of the specific bike vinyls that MAH sell has a black backing so no white edges
-
Al Decker
22Darren Rawlings.
I cut them out with a pair of 10" Wiss shears. The trick is to have sharp scissors so that you can slide them through the vinyl instead of snipping & clipping. Makes for a smooth edge.
If the design is like the blue stars like Matt's design, before I stitch in the design, I'll make a small cut in the white where the star is so that I can get the scissors in there without catching the blue underneath.
Those flames in that seat were pretty eassy to cut out as the two layers of vinyl weren't sewn together along the leading edges. -
 Krunoslav Nakic
5I get with this tool best results....(i don´t know how you call it in english)...
Krunoslav Nakic
5I get with this tool best results....(i don´t know how you call it in english)...
https://images-na.ssl-images-amazon.com/images/I/51K3EOXDnsL._SY355_.jpg


Welcome to The Hog Ring!
This forum is only for auto upholstery pros, apprentices and students. Join today to start chatting.
More Discussions


- Terms of Service
- Useful Hints and Tips
- Sign In
- Created with PlushForums
- © 2026 The Hog Ring